Getting an Indian phone number no longer means buying a SIM card, submitting documents, or finding someone in India to help you. With Nexar, you can receive OTPs from an Indian number in minutes, no physical phone required.
Today, almost every platform requires SMS verification. But Indian SIM cards are not easy to access outside the country, and free virtual numbers are often blocked. That is why Nexar has become a reliable option for people who need a working India virtual number.
In this guide, you will learn how to set up your India virtual number on Nexar, what you can use it for, and how to avoid common issues.
Why People Choose an India Virtual Number
1. Indian numbers are widely accepted
Many global platforms trust Indian numbers. They are less likely to be flagged compared to random free numbers, which makes verification smoother.
2. You do not need to live in India
Getting a physical Indian SIM requires documents, local presence, and time. A virtual number removes all these barriers.
3. You can protect your personal number
Instead of sharing your real SIM online, you can keep your private number safe and use a virtual one for verification.
Why Nexar Is a Better Option Than Free Virtual Numbers
1. Service-based numbers, not recycled pools
Most free apps reuse the same numbers repeatedly. Nexar assigns numbers per service, which reduces bans and failed OTPs.
2. Reusable for future verification
If a platform sends another code later, you can return to Nexar and receive it again without buying a new number. Watch this video to learn how to resend codes on the Nexar webapp.
3. Local payment support
You can pay in Naira or your local currency using bank transfer or card, which makes Nexar accessible without foreign payment methods.
What You Can Use an India Virtual Number For
You can use your India virtual number for:
- Social media verification (Facebook, Instagram, Telegram)
- Crypto and fintech platforms
- Dating apps and forums
- E-commerce and online services
- App testing and multiple business accounts
How to Set Up Your India Virtual Number on Nexar
1. Create your Nexar account
Visit Nexarhq.com or download the app. Register using your email or phone number.
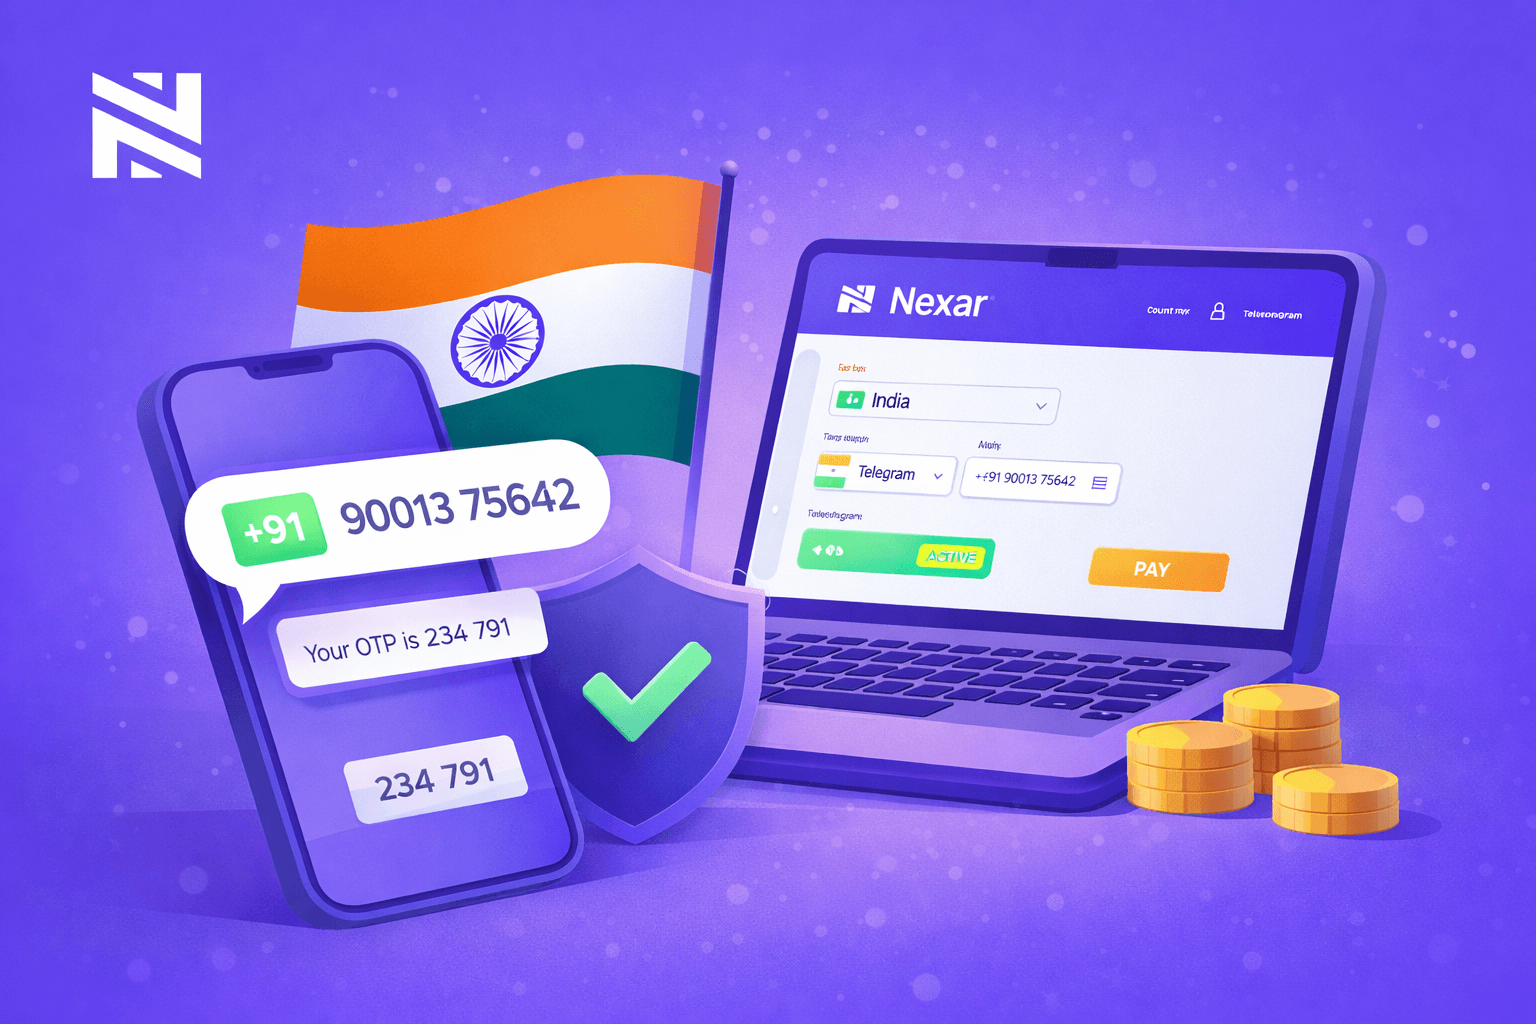
2. Choose India as your country
From your dashboard, click on Virtual Numbers and select India.
3. Select the service you want to verify
Choose the platform you are registering on so your number is optimized for it.
4. Complete payment
Pay using bank transfer or card. Nigerians can pay in Naira.
5. Activate and receive OTP
Enter the number on the platform. When the OTP is sent, it will appear in your Nexar inbox.

Common Issues and How to Avoid Them
1. Codes not arriving
- Check your internet connection
- Confirm you selected the correct service
- Wait a few seconds and resend the code
2. Platform says number is unsupported
- Try a different service option
- Choose another country the platform accepts
3. Account flagged for suspicious activity
- Use a stable IP location
- Avoid switching regions frequently
- Use a recommended VPN
Who Should Use This?
This solution is ideal for:
- Digital marketers
- Crypto users
- Developers and testers
- Entrepreneurs managing multiple brands
- Individuals who value privacy
Final Thoughts
An India virtual number is now a practical tool for navigating verification-heavy platforms. With Nexar, you can set one up in minutes and reuse it whenever you need verification.
Visit Nexar today and get your India virtual number instantly


