
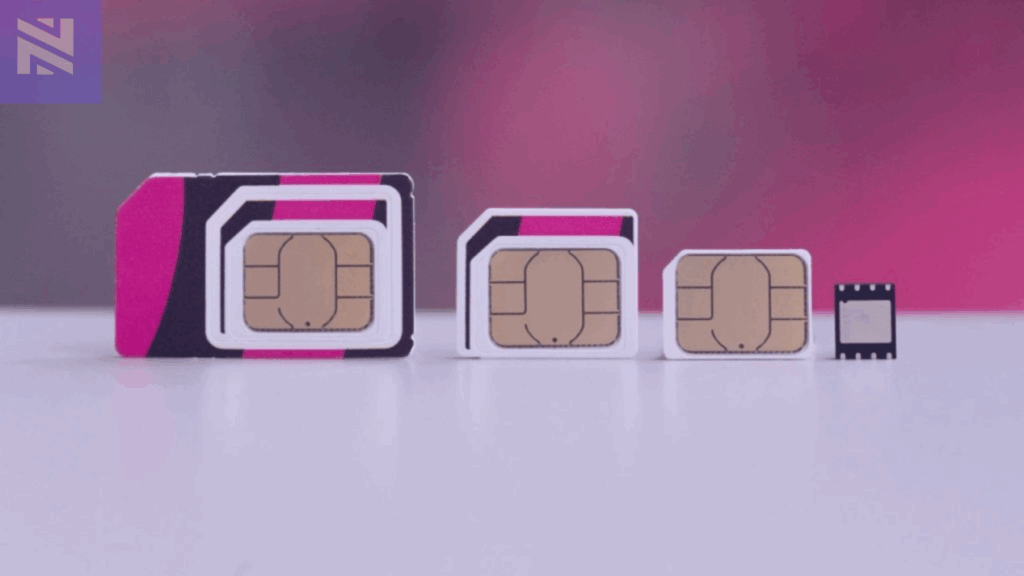
In today’s digital world, mobile connectivity is no longer tied to tiny plastic SIM cards. Thanks to eSIM technology, users can activate mobile plans instantly without needing a physical SIM. But behind every smooth eSIM activation lies a crucial piece of information: the SM-DP+ Address.
If you have ever wondered why your carrier sends you an SM-DP+ Address or what role it plays in activating your eSIM, this guide breaks it all down. Let’s get into it.
What is SM-DP+ Address?
SM-DP+ Address stands for Subscription Manager Data Preparation Address. It is the server location your phone connects to in order to download your eSIM profile. When you buy or scan an eSIM, your phone needs to know where to download the eSIM profile (your mobile plan) from. The SM-DP+ Address tells your phone exactly where to go to get that data.
Think of it like this:
- The eSIM profile = your SIM card information (data plan, number, etc.)
- The SM-DP+ Address = the online server where that SIM information is stored
So when you enter the SM-DP+ address or scan a QR code, your phone connects to that server and installs your eSIM.
Here’s why it matters:
- The SM-DP+ Address is a server URL or domain that directs your phone to the right place to fetch your digital SIM profile.
- Without this address, your device cannot talk to the carrier’s system or install the eSIM profile.
- Each provider has its own SM-DP+ Address, which is why you must use the one given to you by your eSIM provider.
Why is the SM-DP+ Address Important for eSIM Activation?
When you activate your eSIM, your device needs to securely connect to your carrier’s server. The SM-DP+ Address makes this possible.
Here’s what happens in the background:
- Your device contacts the SM-DP+ server using the address provided.
- The server authenticates your request.
- Your eSIM profile with your phone number, carrier settings, and plan details is downloaded.
- The eSIM activation is completed on your device.
Without the SM-DP+ Address, this chain breaks and your eSIM will not activate.
How to Find Your SM-DP+ Address
If you’re wondering where to find your SM-DP+ Address, here are the common ways to locate it:
- Check In-App or Your Email – Most providers send the SM-DP+ Address and activation code via email or in the app when you buy an eSIM.
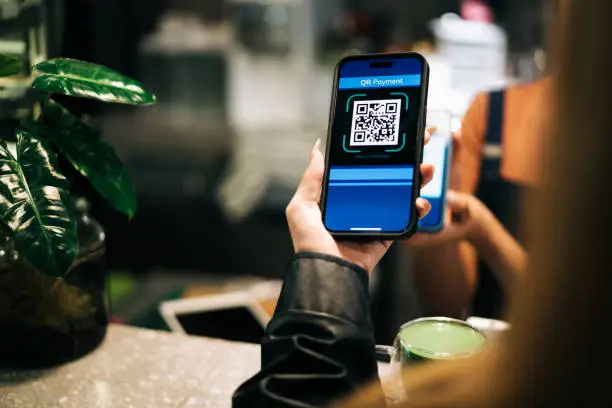
- Scan the QR Code – The QR code you receive usually contains the SM-DP+ Address along with the activation code.
- Contact Your Carrier – If you cannot find it, your provider’s support team can resend it.
- Check Device Settings – On iPhones, go to Settings > Cellular > Add eSIM. On Android, go to Settings > Connections > SIM Manager > Add eSIM. If you choose “Enter details manually,” your phone will ask for the SM-DP+ Address.
How to Manually Install an eSIM Using SM-DP+ Address
Normally, scanning the QR code is easiest. But sometimes, manual entry is needed for example, if the QR code does not scan. Here’s how:
On iPhone (iOS)
- Open Settings > Cellular (or Mobile Data).
- Tap Add eSIM > Enter Details Manually.
- Enter the SM-DP+ Address and activation code from your carrier.
- Follow on-screen steps to complete eSIM activation.
On Android
- Open Settings > Network & Internet (or Connections).
- Tap Add eSIM (or “+” to add SIM).
- Select Enter Details Manually.
- Input the SM-DP+ Address and activation code.
- Finish setup and connect to the network.
If you want a full step by step guide, read our article on setting up an eSIM on your android device here.
What Happens If You Use the Wrong SM-DP+ Address?
If the SM-DP+ Address is incorrect, your phone will not connect to your carrier’s server. This leads to errors such as “Unable to Activate eSIM.”
In that case:
- Double-check the details you entered.
- Request a new QR code or SM-DP+ Address from your provider.
Getting the SM-DP+ Address right is key because it’s what links your device to your carrier’s system. Once you have the correct one, your eSIM activation should go through smoothly.
As more smartphones, tablets, and wearables adopt eSIM, the role of the SM-DP+ Address will only grow. Instead of waiting for a physical SIM, users can enjoy instant eSIM activation across borders. This makes eSIM perfect for frequent travelers, remote workers, and anyone who needs multiple mobile plans.
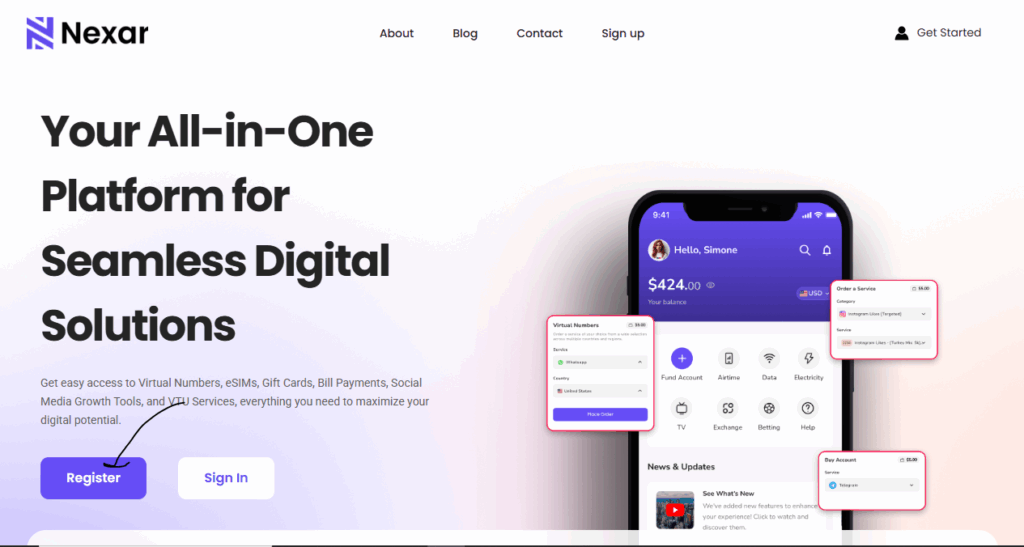
Why Choose Nexar for Your eSIM?
Not all eSIM providers are built the same. The quality of your eSIM experience depends on how reliable your provider’s servers are, how easy the setup process is, and how strong the connectivity remains afterward. That’s where Nexar stands out.
With Nexar, activating your eSIM is quick and stress-free. Every eSIM purchase comes with your SM-DP+ Address and activation code clearly provided, so you can set it up instantly.
- Instant activation anywhere, anytime
- Global coverage that keeps you connected across borders
- Affordable data plans that fit your budget
- Secure and reliable servers that ensure your SM-DP+ Address works every time
Whether you’re a travel content creator, a remote worker or frequent traveler, Nexar’s eSIM gives you freedom and flexibility without the hassle of switching SIM cards.
If you are ready to enjoy these, get your eSIM instantly at Nexarhq.com and stay connected wherever life takes you.
How to Get an eSIM from Nexar
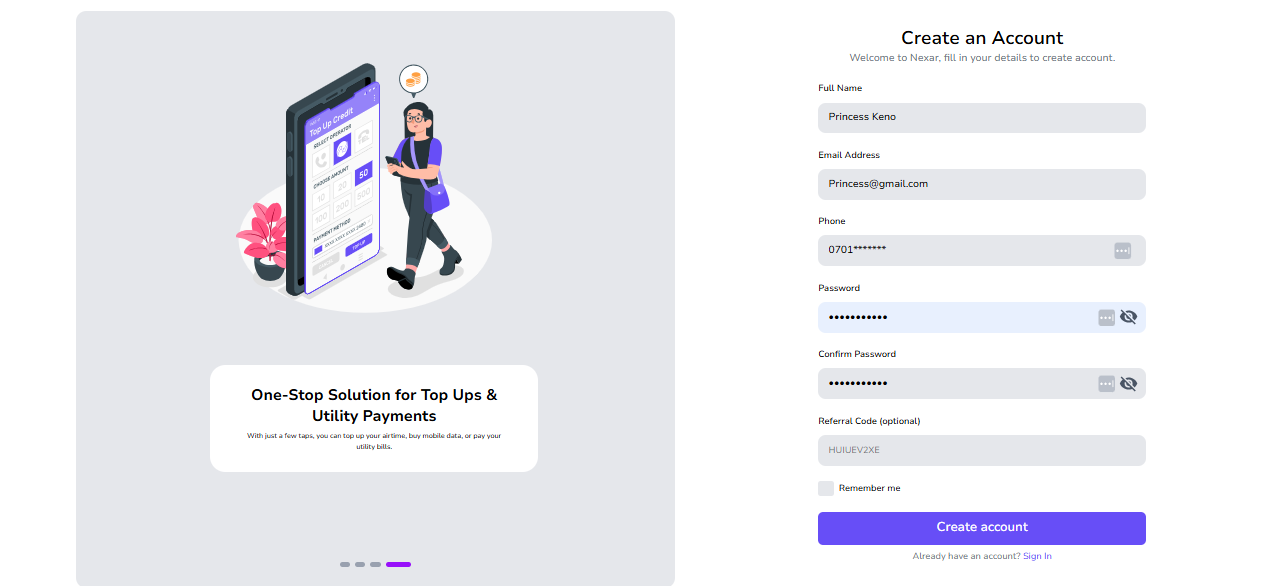
1. Sign up on Nexar
2. Select eSIM and Choose your Destination
3. Pay in Naira or Your Local Currency
4. Activate Instantly by following the above instructions or scanning the QR code to load your eSIM.
If you are confused, you can watch this short YouTube video on how to activate an eSIM on Nexar to get a clearer picture.
That’s all! Your data plan kicks in immediately when you arrive, so you can book rides, check emails, or join meetings instantly!
Final Thoughts
The SM-DP+ Address may sound technical, but it is simply the key that unlocks your eSIM activation. It tells your device where to fetch your carrier profile, ensuring smooth, secure, and instant connectivity.
If you have purchased an eSIM and need to set it up manually, just use the SM-DP+ Address and activation code provided by your carrier. Within minutes, your eSIM will be live. Get started with Nexar now.


